No products in the cart.
Building your own PC can be exciting and rewarding. But the biggest challenge is balancing all the components — so that no single part limits performance. In this guide, we’ll walk you through each step to build a balanced and high-performing PC for gaming, content creation, or daily use.
Before buying parts, you need a clear goal and budget.
Ask yourself:
What will you use your PC for — gaming, editing, or office work?
What’s your budget — $700, $1,000, or more?
💡 Tip: Always balance performance and cost. Spending all your money on a powerful GPU but using a weak CPU can cause bottlenecks.

The CPU (Central Processing Unit) is your PC’s brain. It handles all the tasks and instructions your system runs.
For gaming: Go for mid to high-end CPUs like Intel Core i5/i7 or AMD Ryzen 5/7.
For content creation: You’ll need more cores — Ryzen 9 or Intel Core i9 is ideal.
For general use: A Ryzen 3 or Intel i3 is enough for daily work.
💡 Pro Tip: Always pair your CPU with a compatible motherboard (socket type must match).
Your GPU (Graphics Processing Unit) is the heart of gaming and visual performance. It’s responsible for rendering images, videos, and animations.
For gamers: Go for NVIDIA RTX 3060 / 4070 or AMD RX 6700 XT / 7800 XT.
For creators: Look for GPUs with strong video rendering power, like RTX 4070 Ti or higher.
For office PCs: Integrated graphics from AMD or Intel can handle basic tasks easily.
💡 Tip: A powerful GPU needs a strong CPU. Otherwise, one part will slow down the other — this is called a bottleneck.
RAM affects how many programs your PC can run smoothly at once.
For gaming: 16GB DDR4 or DDR5 is the sweet spot.
For editing or design work: 32GB or more is better.
For basic tasks: 8GB is enough.
💡 Pro Tip: Always use RAM sticks of the same size and speed for best performance (called dual-channel setup).
Storage affects your system’s boot time and how fast it loads programs.
SSD (Solid State Drive): Fast and reliable. Use for Windows and main apps.
HDD (Hard Disk Drive): Cheaper and great for storing large files.
NVMe SSD: Ultra-fast option, perfect for gaming or heavy editing.
💡 Best Combo: 500GB NVMe SSD + 1TB HDD for speed and space balance.
Your PSU powers all components. A weak or cheap PSU can damage parts.
Choose a branded PSU: Look for 80+ Bronze or higher certification.
Wattage: Use a power calculator online to know your total power needs.
Basic build: 450–550W
Gaming PC: 650–750W
High-end PC: 850W or more
💡 Tip: Always buy from trusted brands like Corsair, EVGA, or Cooler Master.
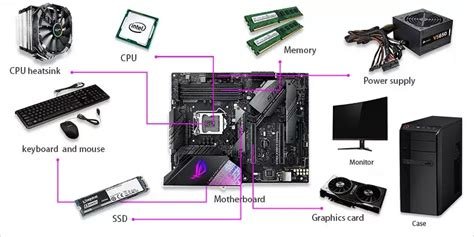
Your motherboard connects all components.
Match it with your CPU socket (e.g., AM5, LGA 1700).
Check for enough RAM slots, PCIe slots, and M.2 SSD support.
Ensure it fits your case size — ATX, Micro-ATX, or Mini-ITX.
💡 Tip: Don’t overspend here; just make sure it supports all your parts.
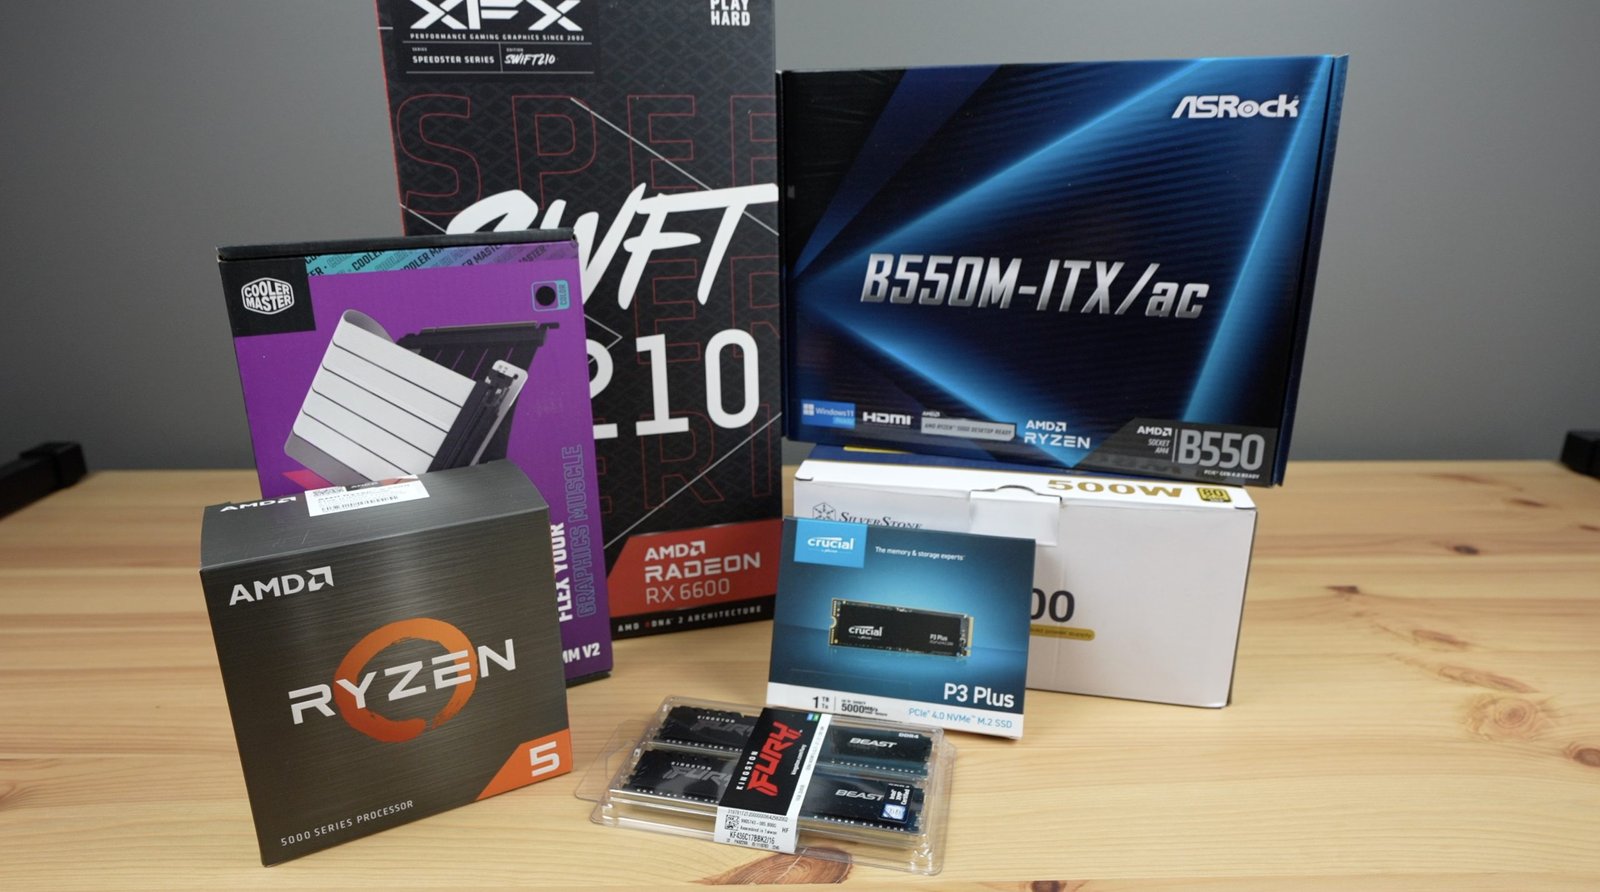
Once you have all parts, it’s time to build!
Prepare your case — open it and manage cables.
Install CPU — carefully place it into the socket.
Add RAM and SSD.
Mount the motherboard in the case.
Install PSU and connect power cables.
Insert GPU into the PCIe slot.
Connect storage drives.
Plug in all cables (front panel, USB, fans).
Power on and enter BIOS to check hardware.
💡 Tip: Watch YouTube guides if you’re unsure — visual help makes it easier.
Use a USB to install Windows 10/11 or Linux.
After installation, install all drivers (GPU, chipset, audio, LAN).
Update your BIOS and Windows for smooth performance.
After setup:
Run Cinebench or 3DMark to test performance.
Use HWMonitor to check temperatures.
Adjust fan curves in BIOS for better cooling.
💡 Tip: Keep your drivers updated regularly for the best performance.
Building a balanced PC isn’t just about buying the most expensive parts — it’s about choosing the right combination for your needs. A well-balanced setup ensures you get smooth performance, longer component life, and the best value for your money.
So, plan smart, balance every component, and enjoy your custom-built PC that fits your style and workload perfectly!
Leave a comment